ToolBar
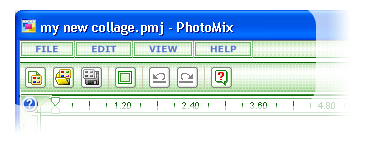
Toolbar is located under main menu. This panel contains buttons for basic
and most frequently used commands.
When Full Screen mode is on, toolbar size is reduced; the toolbar is moved
to the left. Toolbar buttons are grouped according to functions they call:
File:
 – press this button to create a new project.
 –
press this button to open a previously saved project. –
press this button to open a previously saved project.
 –
press this button to save the current project. –
press this button to save the current project.
 – press
this button to Full Screen mode. – press
this button to Full Screen mode.
 – press this
button to undo the latest action. – press this
button to undo the latest action.
 – press this
button to redo the latest action. – press this
button to redo the latest action.
 – press this
button to show About PhotoMix dialog. – press this
button to show About PhotoMix dialog.
fCoder
Group, Inc. © 2005
| 


