|
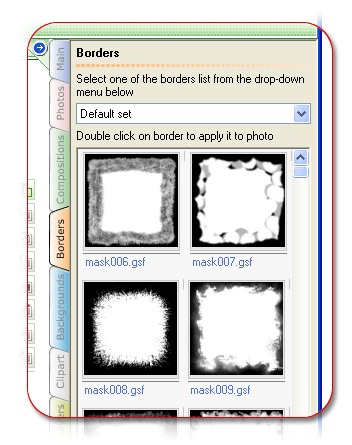
BordersBorders tab contains a collection of borders for your project. These borders can be
applied to the whole project as well as to a separate frame. Starting with PhotoMix 5.2.4, two border types are supported:
Grayscale borders imitate transparent edges of your photos. They can be applied regardless of project theme and will look good in any scrapbook. Color borders are usually used with other thematic elements. They can make perfect frames for your photos. Borders are organized into groups. There is a default border set and thematic groups, e.g. Back to shool. The current group is displayed in To change groups, press If you want to remove a border, select Layers from the View menu. If you applied the border to the whole project, find this element of the tab:
If you applied the border to a frame, locate the
|


