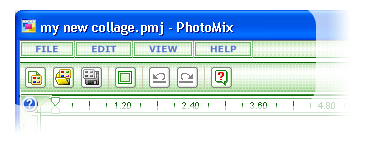
Contents 

Welcome
What's new in PhotoMix?
About this guide
Installation
System requirements
Installing PhotoMix
Upgrading from previous version
Uninstalling PhotoMix
Create your first scrapbook
Step 1: Add photos
Step 2: Choose composition
Step 3: Add photos to project
Step 4: Increase photo size
Step 5: Scroll photo
Step 6: Select frames in project
Step 7: Apply borders
Step 8: Add and edit text
Step 9: Save project as photo
Output options
Save as photo
Set as wallpaper
Send photo via email
Print
Support
Getting support
Contact support
Register PhotoMix
Why register?
How to register
Order PhotoMix
Reference
About fCoder Group, Inc.
Contacting fCoder Group, Inc.
End User License Agreement
Interface
Main Menu
File
Edit
View
Help
Pane
Main
Photos
Composition
Borders
Backgrounds
Clipart
Layers
Smart toolbars
Common frame
Text
Clipart
Several frames
Page toolbar
Sharpen
Blur
Brightenss/Contrast
Gamma Correction
Grayscale
Blue/Red correction
Page
ToolBar
Supported formats
Keyboard shortcuts

PhotoMix Online Help

Prev Page Next Page
PhotoMix

Main Menu


Main Menu is located right under PhotoMix window caption and provides access to basic menus of PhotoMix.

Menu commands are grouped into four corresponding menu sections:

Interface

If menu command name contains an underlined character, pressing this character together with ALT button will issue the corresponding command (as an alternative to other program controls).
When a menu command is selected, submenus may appear to show available subcommands.
Menu commands with … extension imply that these commands call corresponding dialog boxes.
If a menu command name ends in a triangle which points to the right, it means that a submenu is available for this menu command.
Shortcuts may be displayed on the right of menu command names.
Menu commands offering to select something have a mark displaying the current selection.


fCoder Group, Inc. © 2005