Back to School Scrapbook
 |
|
My daughter is in the third grade now. 1st of September always makes parents quite agitated while their children treat the date as some inevitable annoyance.
Well, it's time to get hold of my camera and start taking pictures. In the evening, when I get back from work, I will surely be confronted with a poser of printing the whole bunch of 50 photos or selecting best ones from the pile. Selecting means abandoning some pictures, which I quite surely do not want to do.
Truth to tell I'm far from being a professional photographer and quality of my photos leaves much to be desired - which I cannot say about their priceless
|
contents. How to compromise? The common solution is painful selection of best quality photos. But there is another way and I'm happy to have found it. My computer now helps me with the task of proper usage for hundreds of photos.
It is really quite simple! Now I can use all the pictures I've taken. Everything is now saved to provide me and my relatives with happy recollections of past events.
You definitely know that scrapbook creation is amusing - but troublesome. It's not that I'm saying it's uninteresting, I just don't have time for it. 50 kilometers way to work in the morning, 50 kilometers way back home in the evening, chores to do... How am I supposed to find a couple hours for a pleasant occupation?
Well - now I don't need these couple hours. There's a program called PhotoMix to solve my problem. I'm writing this review to tell you step by step what I did and what I got. I'd like to mention that it is only the first step that is of interest to us, the rest of the work is fast and you don't have to think hard to accomplish it.
I downloaded the program and installed it, as well as all addins to the program. If you dealt with any program installation you do understand what I mean. If you have never installed any programs - which I strongly doubt - just download the installation file to your computer, launch it and press Next>> every time you see it until you see the window with PhotoMix.exe shortcut - well, double click it.
So, the program is now launched and Getting Started window is launched together with it. The latter is of help, but I'm writing my own tutorial, so close this window immediately - not because it is poorly written but because you won't need it if you manage through the text you are reading now.
The program window occupies all of your screen area. First, add images you'd like to work with. To do this, open IMAGE LIST tab in the lower part of the screen. There's a link which opens a window to select images from. Locate your folder and select all images alltogether - you do prefer more images in your scrapbook, don't you?
OK. Now I use my brains to divide all images into several groups. These are my future scrapbooks. As there are few topics, it's not difficult for me to do it
1. Ann wakes up
2. We're going to school
3. We're waiting until the teachers locate their pupils and take them to their rooms
4. We're getting acquainted with Ann's schoolmates
5. I'm going to work...
1. Ann wakes up
2. We're going to school
3. We're waiting until the teachers locate their pupils and take them to their rooms
4. We're getting acquainted with Ann's schoolmates
5. I'm going to work...
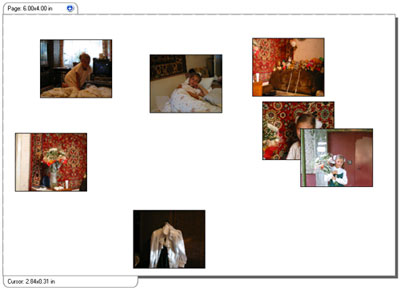
So - my first step. I double click the images I want to associate with the first topic. All of them randomly appear in the work area of the program, in the order known to God and program developers only.
Well, I'm quite used to workplace disorder ;-)
Well, I'm quite used to workplace disorder ;-)
Now, let's click our images and drag them until their location seems satisfactory.
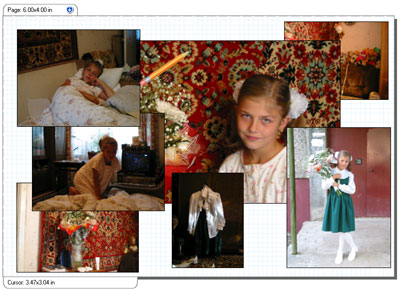
Let's resize images and make some of them bigger and some smaller, position some images above or below others and align them. Drag images using their frames and align them with the help of the buttons located near images. In other words, it's time for creative work!
Let's resize images and make some of them bigger and some smaller, position some images above or below others and align them. Drag images using their frames and align them with the help of the buttons located near images. In other words, it's time for creative work!
Here's the result I get:

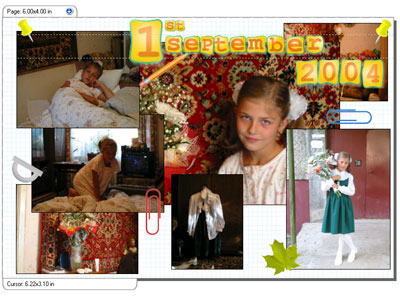
Wait, I'm not through yet! Now I'm going to decorate my collage.
Let's open Frames tab and select Clipart section. There's an arrow to the right, let's click it and select 1st September from the menu.
Let's open Frames tab and select Clipart section. There's an arrow to the right, let's click it and select 1st September from the menu.
Papers, erasers, pencils and other stuff - all I need now.
When you double click the images, they are moved to the work area. Let's add as many as we can - we can always delete what we don't need. Dragging-dropping-sizechanging work again - let's make it beautiful.
When you double click the images, they are moved to the work area. Let's add as many as we can - we can always delete what we don't need. Dragging-dropping-sizechanging work again - let's make it beautiful.
Here's what I have now:

Signatures come next. I need them. I'm very upset to see an unmarked photo after 5 years, as I have to think hard and remember when it was and what grade was it.

Let's select 1st September - alphabeth 02 from clipart menu. That's the thing for me now. Now I start making a signature -same dragging and dropping again. Isn't it the result I wanted? Now I can print it out using my tiny printer and add it to my album.
There are many other pleasant things to be added to the collage - see for yourself. Just examine the tabs. Don't be afraid as the program won't bite you :), it is quite friendly.
September 25, 2006

